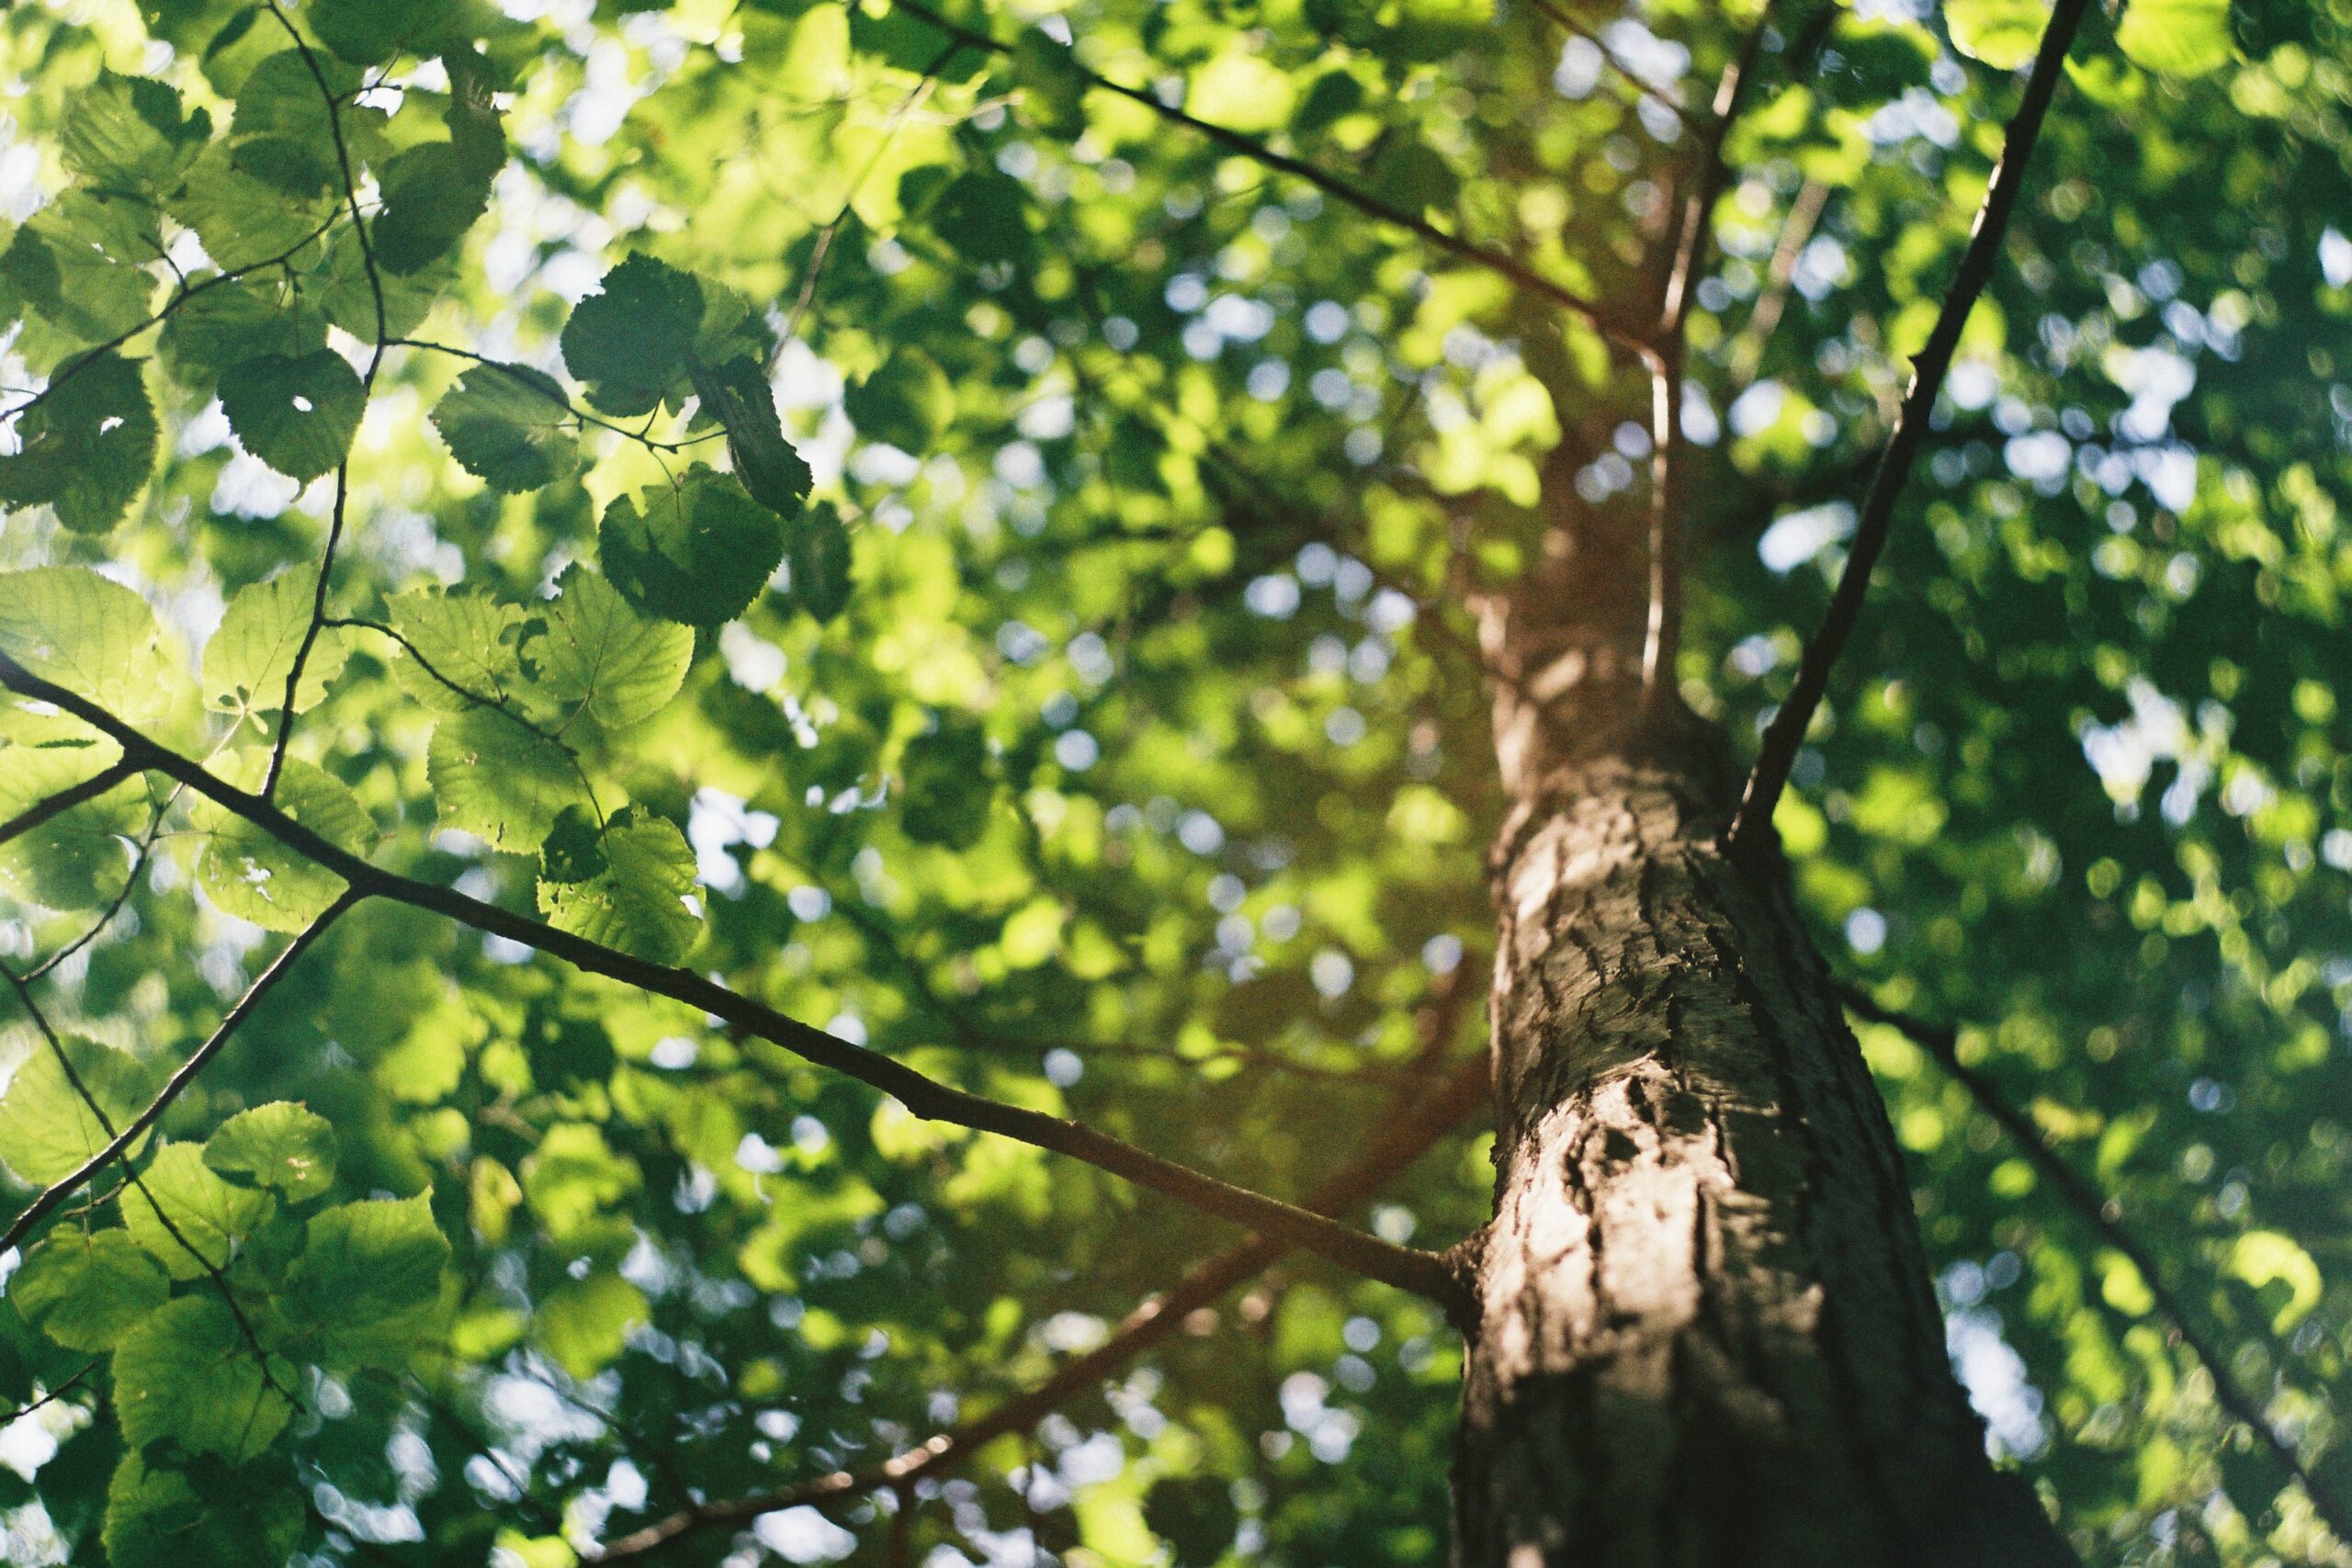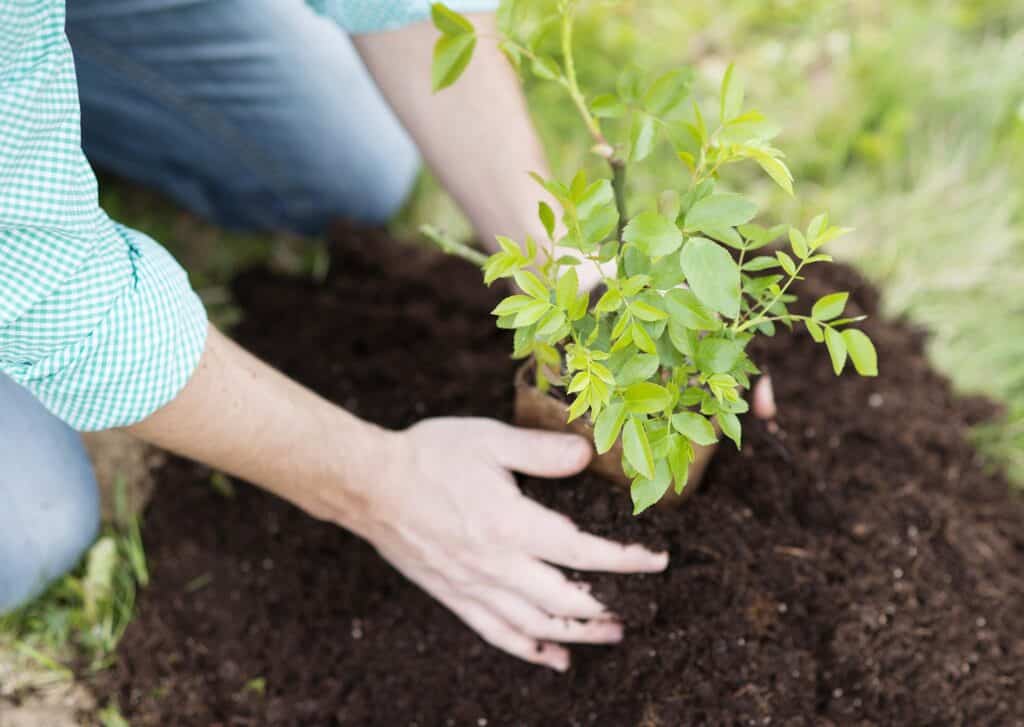
Planting a tree in your yard isn’t just great for the environment, it’s also a value-boosting addition to your home. Different species offer eye-catching colour changes throughout the year and help improve air quality. Trees can also provide shade, which can help lower home cooling costs and create a natural outdoor shaded seating space.
There are many more benefits to planting trees, however there are numerous factors to consider. Before you get to the ‘how to plant a tree stage’, consider these extra steps to care for your tree. Being fully informed regarding what a tree needs will help ensure that the tree takes well to its new location and grows.
Table of Contents
ToggleThe best time to plant trees
Choosing the right season to plant your tree is crucial in ensuring that the roots have time to establish themselves and flourish before winter. The general rule of thumb among landscapers is that spring or fall is the best time to plant. Both deciduous and coniferous trees can be planted in that time frame, however, they’ll both vary within those months. Compared to summer, knowing why these are the best times will also help with planting plans.
Environmental factors
Depending on what part of Canada you live in, there are some environmental specific factors to consider. Some species, for example, don’t like warmer climates, while others thrive in drought conditions. Knowing the right tree to choose for your local area will help when planting and caring for it. This will also vary for fruit or flowering trees, which may need specific climates.
Trembling Aspen, for example, are not suitable for urban cities with high pollution. In comparison, Manitoba maples are incredibly robust trees that can live in most types of soil. Before choosing a species, take a look at the official city website of your area for recommended species or talk to your landscaper for tree advice.
Spring
Spring seems like the most obvious choice as most other planting occurs during this time. However, for trees this is a little different as growth is split between root development and leaf growth. With deciduous trees, springtime growth mostly focuses on new leaf growth since temperatures are warmer and there is more rainfall. As temperatures drop again later in the year, the tree begins to hibernate and conserve energy over the winter. During this time, root growth is much more active.
Coniferous trees maintain their leaves or needles year-round and similarly focus on new growth during the spring. Later in the summer and early fall, the tree instead creates a protective coating for the needles over the winter.
All this doesn’t mean you can’t plant during spring, but it does affect what month you choose to plant. Both deciduous and coniferous trees are best planted in early spring as soon as the frost is gone. That way, the trees have time to grow and store enough energy to support later root growth and winter hibernation.
Summer
As a general rule of thumb, you don’t want to plant trees during the summer. The combination of heat, dry temperatures, and the stress of being transplanted is often too much for a new tree meaning it likely won’t survive the winter. Container bought trees may have a better chance over the summer, but they’ll need a lot of water to withstand the heat.
Fall
If you didn’t plant in spring, then fall is still a great time to plant. From the first week of August right up until the end of October is the best time to plant trees. Following the growth spurt in early spring and summer, trees begin to slow down again. The combination of less energy for leaf growth and colder temperatures helps encourage root growth instead. The roots will spread and seek nutrients in the soil so that there is a support system in place come spring.
Winter
Winter is the least recommended time to plant for numerous reasons. As trees are in hibernation mode, there is no new growth for the tree to support itself. The tree will eventually starve, and likely not make it through till spring. Constant snow and lower temperatures as well as risk drying out the roots and killing the tree. Plus, unless you live along the coast, the ground will be frozen solid.
How to prepare the ground
Once you’ve selected the right tree, it’s time to prepare the ground. Soil preparation is one of the most important steps for a healthy tree. Good quality soil will hold all the nutrients needed to support a tree’s growth and dictates how well the soil can drain or retain water. As a useful test, good quality soil should crumble easily in your hand. If it does, it means the soil has enough nutrients to support the tree. Otherwise, add nutrients, such as peat moss or compost, to restore soil quality.
To check how well the soil drains, dig a small test hole and fill it with water. If it empties within a few hours or a day, it’s okay to plant. Soil that does not drain risks drowning the tree, so either choose a new location or add course grit for better absorption. With the right soil and location established, it’s time for the tree planting steps.
Step 1: Dig the hole
A general rule when digging is to make the hole at least 2-3 times wider than the root ball and with sloped edges. For the depth, dig only as deep at the root ball and ensure that the trunk flare is visible above ground. The trunk flare is the main part of the root system attached to the trunk of the tree. Initially, during this process, keep the root ball protected to avoid sun damage or the roots drying out. Afterward, leave it exposed to ensure that the roots get enough oxygen as they grow and spread. Proper ground preparation will also help minimize any transplant stress that trees experience. Remove the container or any burlap sacks from the root ball before placing the tree inside the hole.
Step 2: Add the backfill
Ensure the tree is straight before adding the backfill, which should use the same soil that was originally removed. That will encourage the roots to expand beyond the initial dig spot and, as a result, develop a more robust root system. Make sure to alternate soil with water and then carefully compact each new layer as it is added back in. Trapped air pockets, which result from poorly packed soil, will quickly dry out the roots and affect the tree’s overall health and growth.
Step 3: Add mulch to the surface
Adding mulch acts as a layer of protection for the new tree, making it a crucial final step in tree planting. The fresh mulch regulates soil temperatures, helps retain water, and prevents weeds from sprouting and competing for nutrients. When applying the mulch, spread it evenly across the ground and not too close to the trunk. As a guideline, have the depth be between 2 to 4 inches deep and create a 5-inch diameter around the tree. This will ensure that oxygen can still reach the roots and that moisture doesn’t become trapped against the trunk.
Location matters
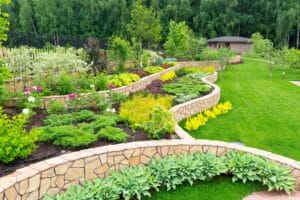
Keep in mind that where you plant a new tree is both important for the tree’s health and property value. A visually beneficial location may be in an area with flowers and smaller plants to complement the tree’s height. If planted in the front yard, think about what shading it will provide or how close it is to the house. As for the tree itself, make sure the soil drains and doesn’t retain too much water. Drowning a tree is a common problem, even more so than underwatering one. Remember that the tree branches and canopies will spread out, so keep an eye out on any obstructions. Power lines, nearby structures, or even the roof can both be damaged or cause damage to the tree itself.
Tips for caring for your new tree
How to plant a tree is just one aspect of buying and planting a tree. It is crucial to provide care for the tree after it has been planted until it has become established. Watering, staking, and eventually pruning are important steps to ensure the tree grows healthy and strong.

Watering
Water a newly planted tree regularly until the root system is established. From then on, watering can gradually be lessened. As you water the tree, remember to water in wider areas to support the root growth beneath the soil. Keep in mind as well that during excessively hot or dry days, a new tree may need more water than usual so that it doesn’t dry out. A good guideline for watering is this:
1-2 weeks after being planted: water the tree daily
3-12 weeks after being planted: only water every two to three days
12 weeks and onwards: water the tree every seven to 14 days
Small trees will need between 7-10 gallons of water, while large trees will need between 10-20 gallons of water. Keep watering the tree until the root system is established, which, depending on the species, may take up to 2 years. To check the moisture level, dig a 2 to 4-inch deep hole just beyond the root ball. If the soil is dry, it’s ready for more water.
Support
Staking is typically done for new trees to add an extra layer of support until the tree becomes settled. However, that is only necessary if the new tree is not sturdy; otherwise, staking is not needed. Place the stakes on opposite sides just outside the newly dug hole where your tree is planted. Then, attach ties leading from the stakes to the trunk, but keep the ties loose. The tree should still have some movement so it can grow without restraint. Depending on the tree, the stakes can be left for a few months or upwards of a year. Keep an eye on the tree and watch for signs of movement from the root ball. If there is none, then the stakes can be removed.
Pruning
Never prune a brand-new tree as it risks reducing healthy growth and can even prematurely kill it. Instead, trim away dead leaves or broken branches to support healthier growth. Only when the tree is fully established, typically in its second or third year, should it be pruned.
Similar to the best time to plant trees, pruning should be done in early spring or late fall. When you do prune, start with a clear game plan in mind and remember that smaller cuts are better than large. The wrong cut can just as quickly harm a tree, potentially damaging growth or cause internal damage. Only prune 25% from the top of a tree to avoid starving the tree of nutrients from lack of leaves and support. Always use proper pruning tools, such as hand pruners, lopping saws, or a pruning saw, to ensure a clean cut. If you’re in doubt, hire a landscaper or property management company to prune your tree for you.
Fertilizer
New trees, and even mature trees, don’t need fertilizer to help them grow. Instead, use fertilizer only as backup support. If, for example, the soil quality lacks nutrients or the tree shows signs of poor growth, then fertilizer can help. However, make sure only to use the right amount and type. The best way to ensure that you do is to talk to a professional. They’ll let you know the best match for the species of trees and how much is recommended. Natural fertilizers, such as compost, peat moss, or bone meal, can be applied to the soil during planting.
Ask a professional for help
If you need help finding the best location or pruning a new tree, never hesitate to call a professional landscaper. Even if it’s just for some tips and advice on how to plant a tree, landscapers have good experience and can help. They’ll know what tree species is right for your area or where the best planting spot is to boost curb appeal and overall tree health. If you’re planting a larger, more established tree, then a landscaper can help remove the labour stress. Down the road as well, a landscaper can help prune or care for the tree.
There’s an old Chinese proverb that says, “the best time to plant a tree was 20 years ago. The second best time is now,” which you can do with a professional!
Find RenovationFind certified landscapers now!
| Alberta | British Columbia | Saskatchewan |
| Edmonton Landscapers | Vancouver Landscapers | Regina Landscapers |
| Calgary Landscapers | Victoria Landscapers | Saskatoon Landscapers |
| Kelowna Landscapers | ||
| Manitoba | Nova Scotia | Newfoundland |
| Winnipeg Landscapers | Halifax Landscapers | St. John’s Landscapers |
| Ontario | Quebec | New Brunswick |
| Toronto Landscapers | Montreal Landscapers | Fredericton Landscapers |
| Barrie Landscapers | Quebec City Landscapers | Moncton Landscapers |
| Hamilton Landscapers | Saint John Landscapers | |
| Kitchener Landscapers | ||
| London Landscapers | ||
| Ottawa Landscapers | ||
| Waterloo Landscapers |

