Your kitchen cabinets play a major role in how your kitchen looks and how it functions. Whether you’re tired of the way your kitchen looks, or want to spruce things up to sell your home, there are several ways you can update your kitchen cabinets. Some methods are easy, cost-effective, and all have a good return on investment.
Whether you want to upgrade the look, style, function, or just the hardware, there are countless possibilities. With this handy guide, you’ll have plenty of ideas and ways to transform your old cabinets and give your kitchen an attractive value boost:
Table of Contents
ToggleConsider cabinet refacing or refinishing
Depending on your cabinets’ overall status, renovating the cabinets can be as detailed or minimalistic as you want. Either just the doors themselves can be stripped and repainted, the hardware alone can be swapped out, or the entire cabinet can get refaced for a whole new look. There’s no right or wrong method; it’s a matter of personal choice, budget, and your cabinets’ status.
Before you think about tearing out the old and buying new cabinets, save yourself the time and money and reface or refinish them instead. Refacing is when you remove all doors and drawer fronts and replace them with new ones. A veneer is applied to the exposed cabinet surfaces to match your doors and drawers.
Refinishing is when you keep all components of your cabinets, but give them a new look by painting or staining them. Both can be a DIY task if you have the time, patience, and skills. Otherwise, a trusty professional can just as easily and quickly handle the work for you.
A Guide: 14 ways to update kitchen cabinets
1. Paint the cabinets
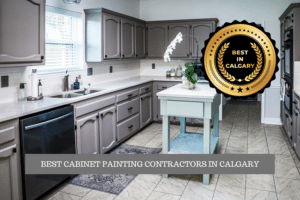
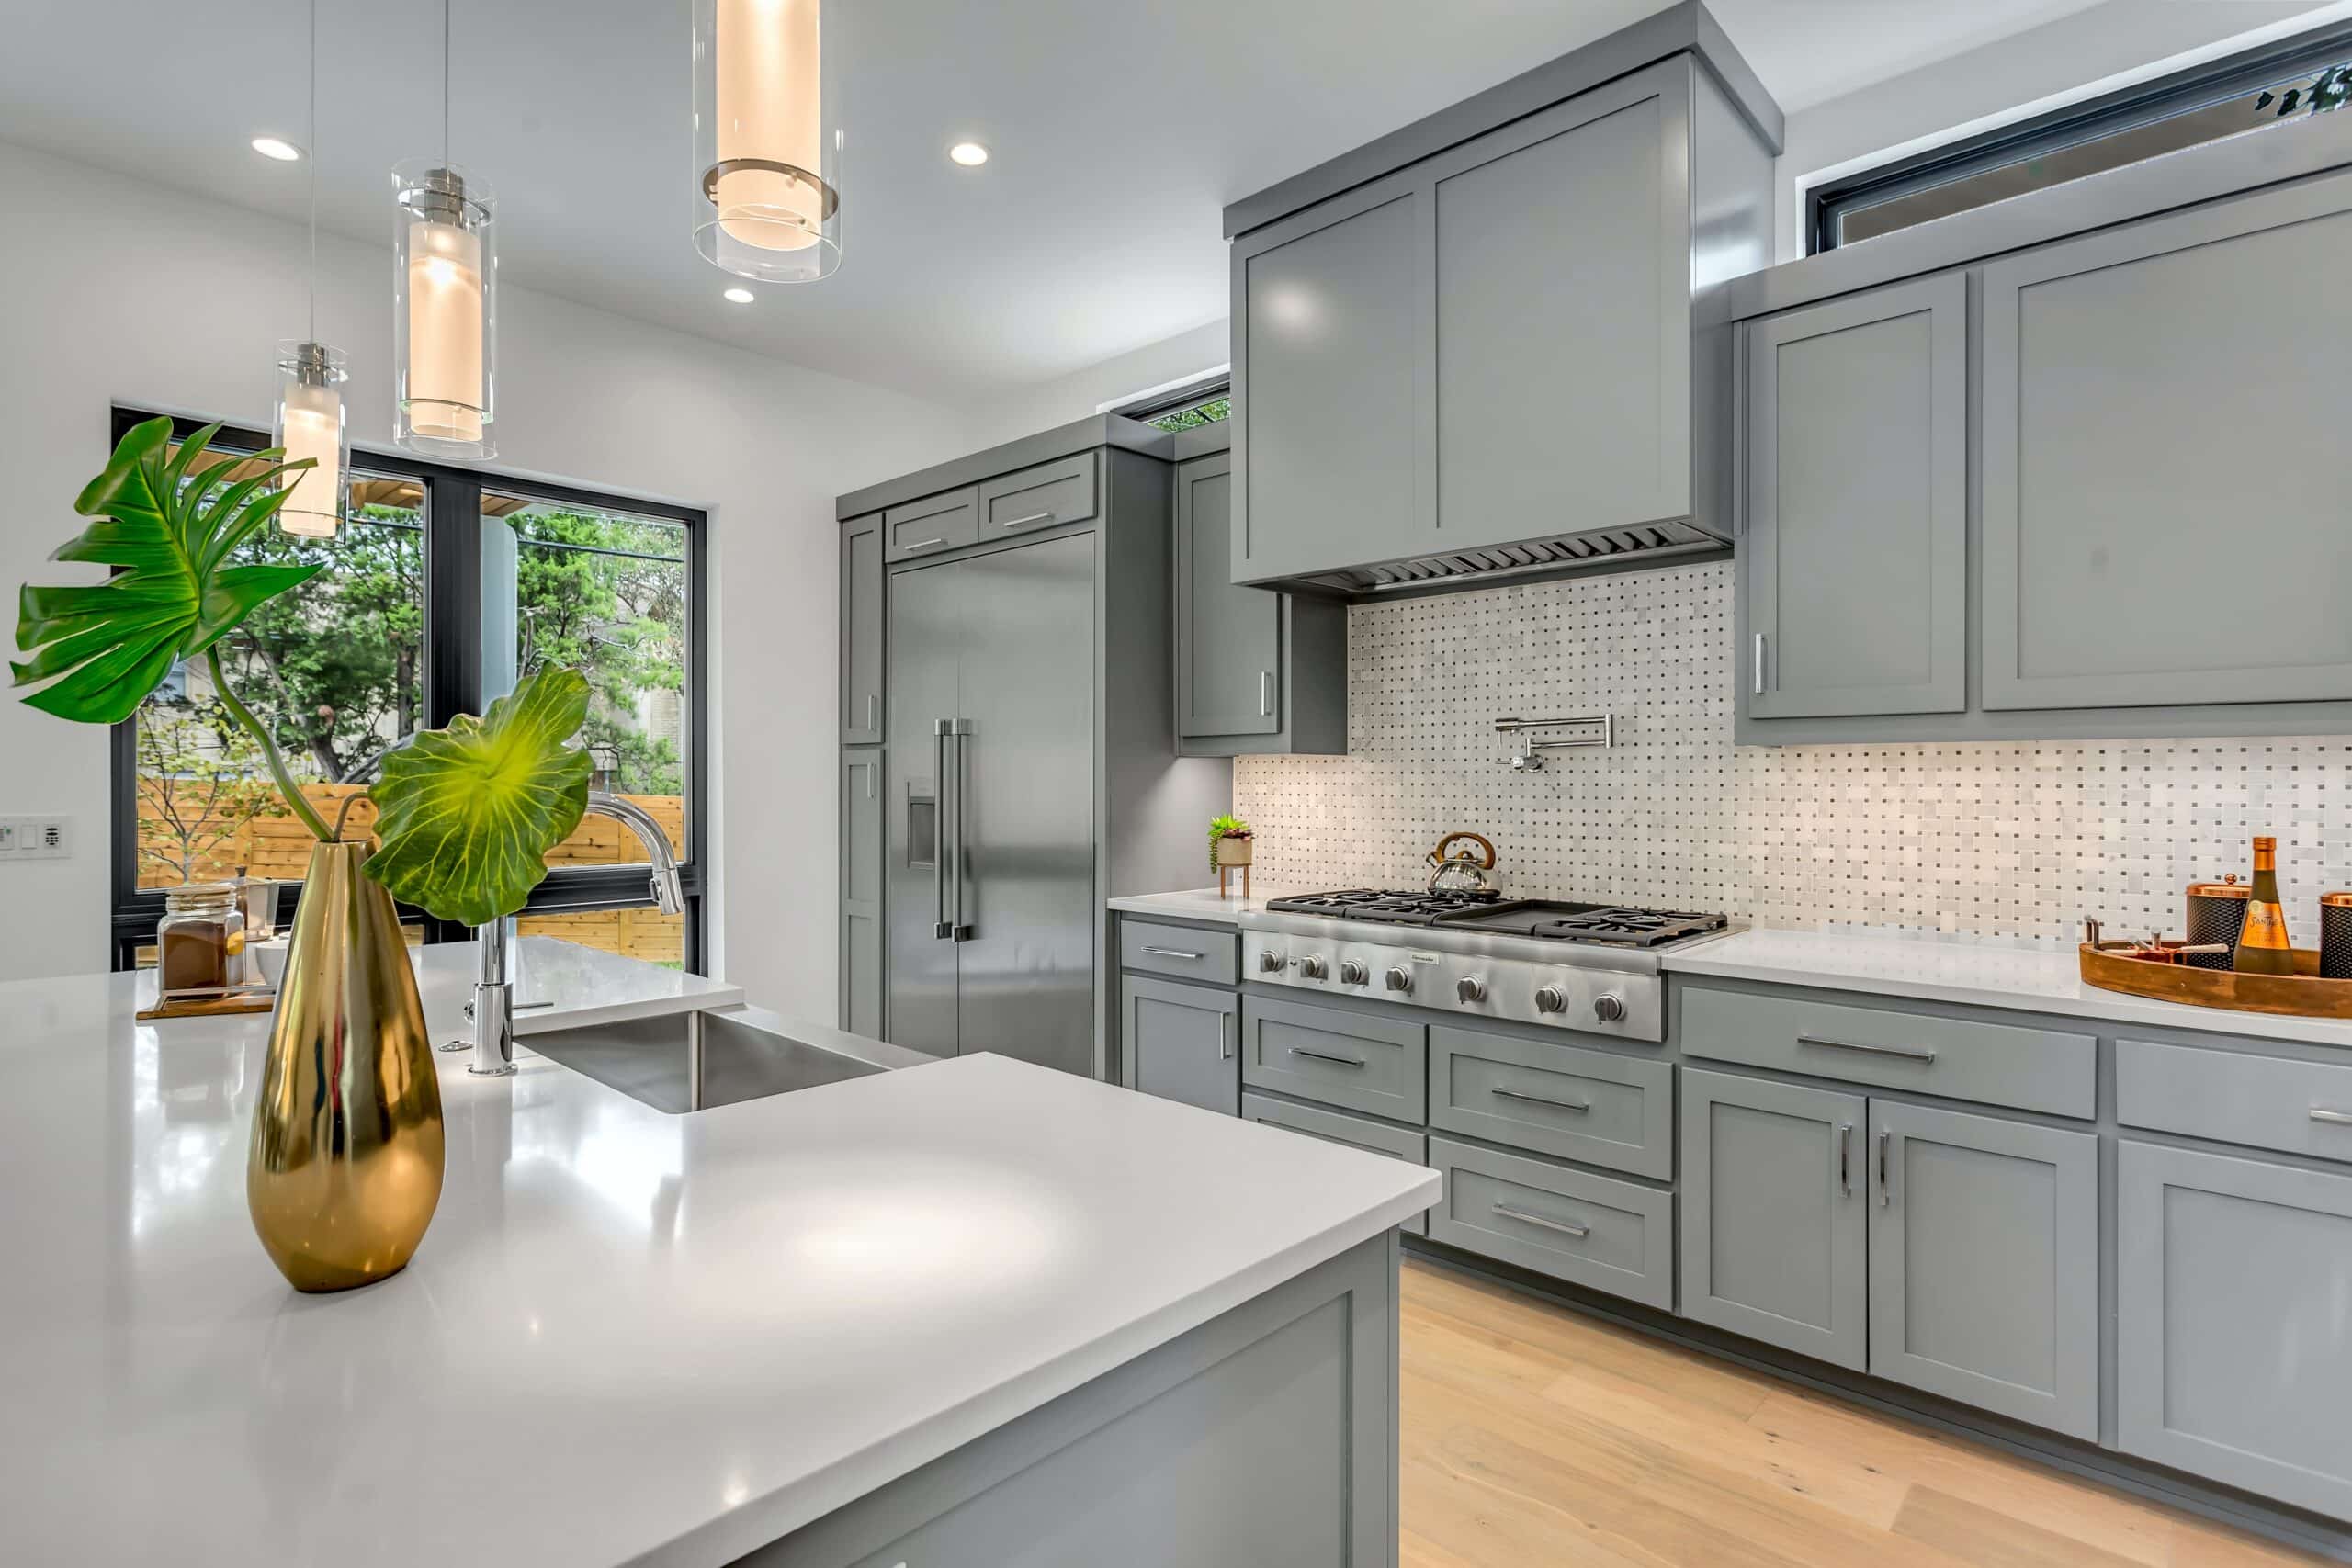
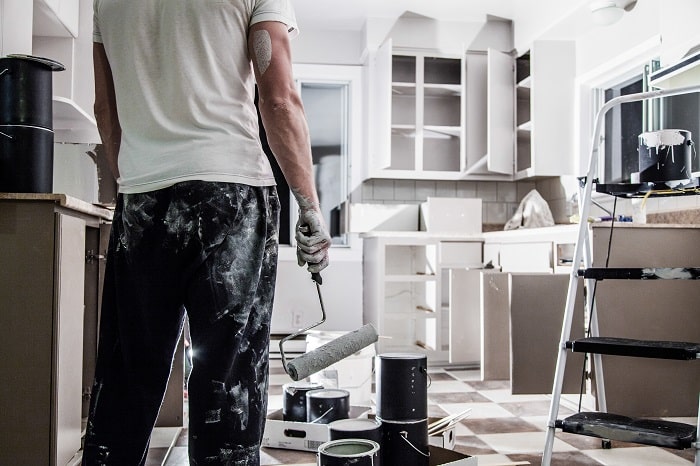
You’ve probably heard it before, and yes, it’s true––paint is your friend! If tired out or worn colours are the problem, but everything else looks good, then try something new. To start, go for a brighter colour to help add some light to the kitchen. Crisp whites are a classic look, but also consider light pastels such as greens, yellows, or blues. Soft greys and beiges are other great options for a simple yet modern look. If you feel bold, though, try black, dark blues, or even a striking red to add a real feature look.
2. Reface the cabinets
As mentioned, cabinet refacing is when you keep your old drawer boxes and replace all doors and drawer fronts with something new. To complete the job, a matching veneer is also installed on the sides and faces of cabinet boxes, so all exposed faces are uniform with the doors. This job is more expensive than cabinet painting but allows you to completely change the style of your kitchen cabinets.
3. Update the trim
Another painting trick, but a more subtle one, is to add a new trim colour. Paint the cabinet face white, for example, but leave the rest a natural wood. If you want a blend of colours, pair a white face with a soft green trim or bold orange or blue. Trim can also be inverted, so the cabinet’s face is painted white, while the rest gets a colour treatment. Either way, the overall look will be a more rustic or even an attractive vintage appearance.
4. Add luxury with crown moulding
Don’t just think that crown moulding is limited to walls and ceilings because it’s not. Both ceiling-height cabinets and standard ones will benefit from the elegant addition of crown moulding. Not only is it a simple addition, but it also adds a custom and very high-end luxury appearance. It also adds its own characteristic to the kitchen as a whole and isn’t costly to do. Either match the crown moulding colours to your cabinets or choose a new colour for an eye-catching trim. Ceiling-height cabinets, for example, may benefit from a dark brown or black trim. That way, the ceiling, and cabinets will have a clear separation, and it’ll create a sense of more height in the room.
5. Get creative with wallpaper and trim
You don’t have to be a painting expert to add interesting patterns to your cabinets. Instead, just add wallpaper with readily available patterns. It’s also a great way to get a completely unique and customized look when you upgrade kitchen cabinets.
The same goes for installing trim pieces, such as extra baseboard trim, to create a 3D pattern. Any design from a farmhouse, shutter, or something unique, can easily be installed. Cut a piece of wood trim to the right size and then secure it with wood glue. Continue adding pieces to get your pattern, and voila! A completely new look.
6. Use chalkboard paint
Chalkboard paint works great on tall cabinets. Tall cabinets or even ceiling height ones are a statement all on their own. Still, the right colour can help add even more height, while a separate shade can turn it into its own custom piece. That said, another great idea is to use chalkboard paint. The paint is easy to apply, and once dry, acts the same as a chalkboard. You can write or draw anything on its surface and then easily erase it later. For tall, ceiling height cabinets, transform the surface into a message board, grocery list, or a to-do list. You can even use it to draw pictures and designs that can be changed whenever you want.
7. Mix and match the top and bottom
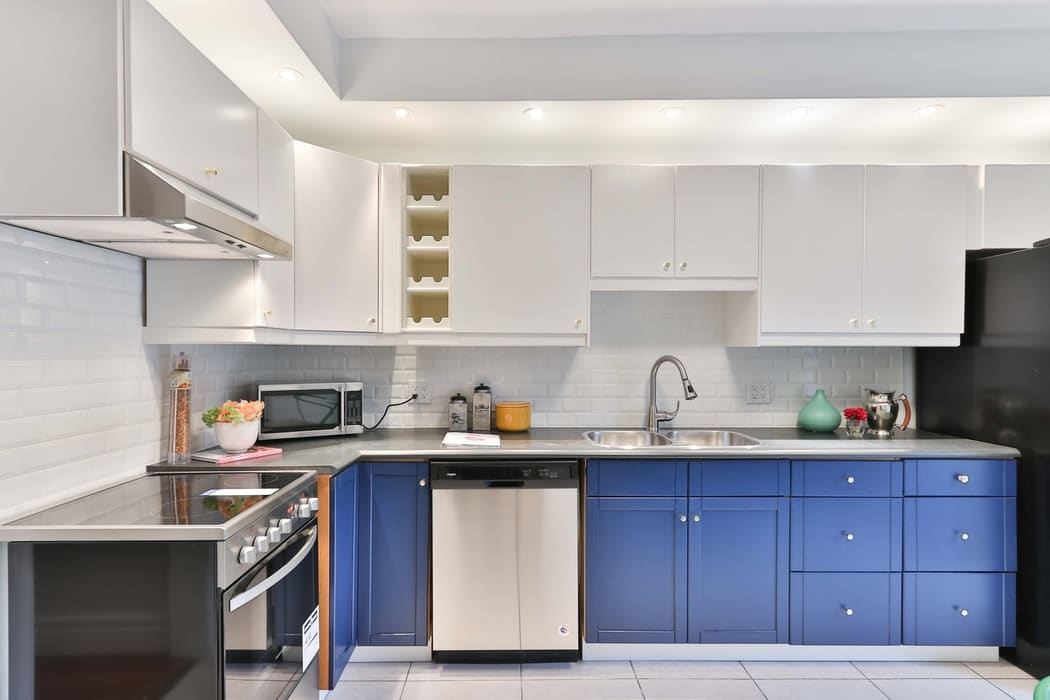
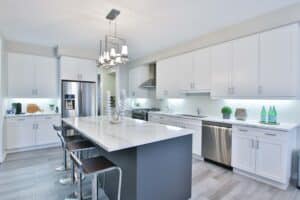
Remember, you also have cabinets underneath the countertop, which also need some attention. One of the best ways to do just that is to go for a two-tone kitchen decor. A good rule of thumb for this is to have light colours on top and dark underneath or the reverse. That way, you don’t have too many dominating or matching shades, and your kitchen gets a striking contrast. Apply crown moulding to the bottom cabinets as well, for a simplistic touch of elegance.
Another clever trick is to inverse not just colours but also the hardware. Do you have silver handles and grey paint on top? Then go for white paint on the bottom with warm gold handles. The same goes for a bold dark colour but then paired with light handles that will really stand out.
8. Swap out some doors with glass doors or install glass inlays.
Try swapping the cabinet doors for new glass doors for a new look. Alternatively, glass inlays combine the benefit of a beautiful new addition and still pair with old cabinet doors. With the right tools and a little skill, this can even be a DIY upgrade kitchen cabinets project. First, measure where you want to install the glass panel and what design you want. Then use a router to cut out the inner panel on the cabinet door and remove it. Next, set the glass and secure it with glass clips before reinstalling your new glass cabinet door.
9. Dress up in the inside
Now that you have glass doors, why not add some interest to the inside of those cabinets? Similar to dressing up the exterior doors, use either paint, wallpaper, or a little trim detailing to add a new look. You could even flex your artistic hand and draw patterns or pictures on the inside. Leave the outside of the cabinet a natural wood or painted white, then use a bold or bright colour on the inside. Not only will it add depth to the cabinets, but it’ll also help make them pop as focal features.
10. Consider open shelving or removing cabinet doors
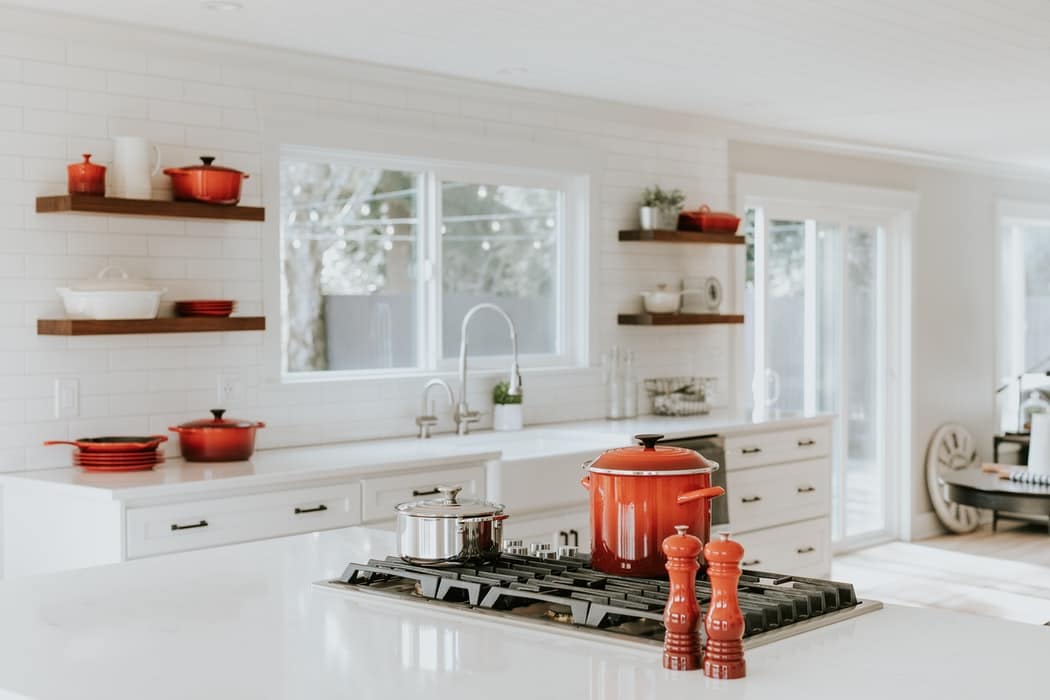
Open shelving cabinets are both visually attractive and very functional. This kitchen storage style is also becoming very popular among homeowners. That said, don’t remove the doors on all your cabinets. Instead, focus on one area or section of the kitchen to add an open-face design. That will help keep a unique luxury feel and still provide you with room to customize when updating kitchen cabinets. A popular place for open shelving is beside the stove, especially if you have a feature range hood. Otherwise, open the shelving beside any windows to really maximize that open, airy sensation. Your kitchen will look brighter as a result, and the combination will create a nice balance.
Open shelving should be a consideration if you can keep the items stored on the shelves neat and tidy. Cluttered shelves can diminish the look and feel of your kitchen. If you’re worried it will look messy, stick with storing items behind cabinets doors. If you have kitchenware and decor you want to showcase, shelving or open cabinets will work great.
For a splash of colour, paint the inside or add a colourful trim to the exposed shelving edges. You can even pair stylish additions like pictures, colourful plates, or even plants for added interior décor. Install task lighting inside the cabinets to further highlight any features or add an attractive interior glow.
11. Address the hardware
Cabinet hardware, as in the handles and knobs, aren’t just there for functional reasons. Swapping out old hardware for a new look or colour can do wonders for the overall kitchen. Matching those new colours with your lights and faucets will further help draw the theme around the room. Sometimes just a simple hardware upgrade is enough to enhance or modernize the space.
To start, decide what shape you want. Do you want matching designs on the top and bottom cabinets or two different styles? Everything from drawer, drop, and cup pulls to knobs are possible ways to get a custom look. Take a look at your kitchen overall and then decide if you want that vintage, modern, or boho theme. From there, it’s time to look at the colours. Black or silver are both classic choices that pair well with any kitchen layout. However, bronze or brushed brass adds a welcoming warmth and a perfect blend of modern and traditional.
12. Utilize lighting
If you know about the lighting rule of three, you’ll know that task lighting goes a long way. That applies to both design benefits, but also to how much money you can save. Instead of constantly reaching for the overhead lights, just turn on your new upgraded cabinet lighting. You’ll use less energy but still have enough lighting to see. Design-wise, it adds a unique style by creating an appealing layered light effect. Your cabinets will glow (literally), which helps chase away shadows and create a brighter and more open sensation.
Undercabinet lighting will also help you improve your kitchen counter workspace. Not only can you illuminate the countertops, it provides a cozy atmosphere when on at night.
13. Upgrade interior storage
Upgrade kitchen cabinets not just on the outside but focus on some interior upgrades as well. Clever storage solutions, such as pullout trash cans, a cookie sheet drawer, or a narrow spice drawer, are great upgrades. Not only will your kitchen look attractive, but it’ll also be functionally attractive as well. Adding storage is a great way to further boost the overall value and make your kitchen even easier to work in. If you have the time and skill, you can even tackle most of these storage solutions as a DIY project. Otherwise, there are custom storage companies that can provide a solution for reorganizing your kitchen cabinets and pantry.
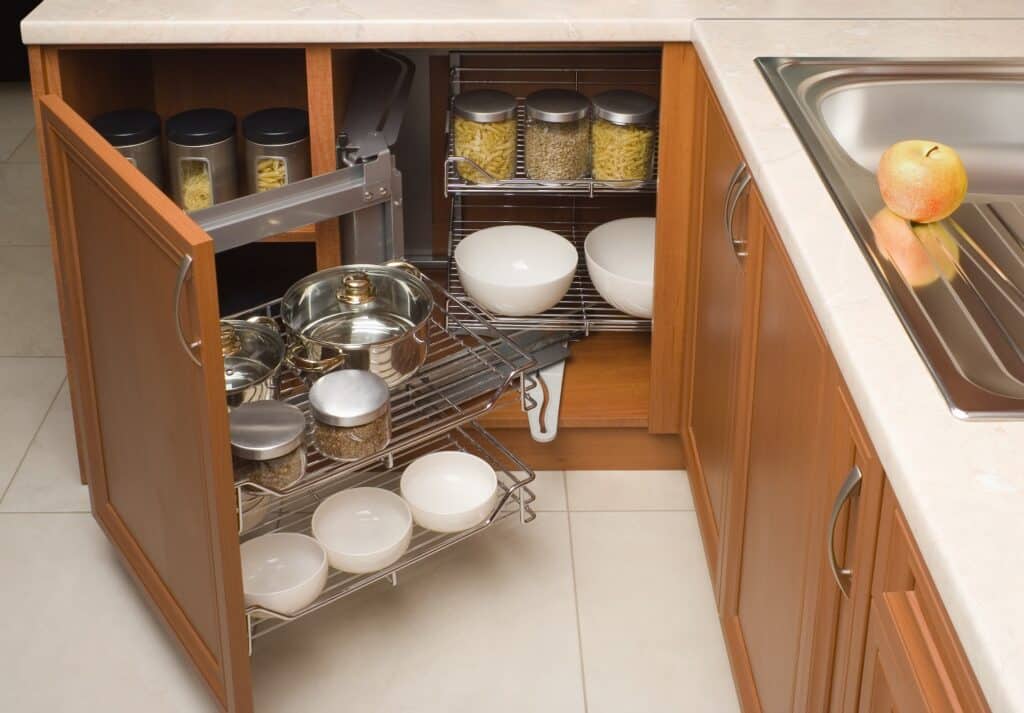
14. Maximize storage space with corner drawers
Don’t let those corners in your kitchen go to waste as dead space when there are plenty of uses. Corner drawers, specifically, are the perfect solution to maximize all space and potential storage. Not only do they look visually stylish, but this also creates the perfect space to store things. Everything from pots and pans, baking utensils, or dishcloths and oven mitts can be easily tucked away. To give the drawers even more of a subtle custom look, install different handles from the other cabinets.
DIY or pro?
Before getting into all the ways of updating kitchen cabinets, first consider if you want to DIY or not. A professional will be able to complete a full-kitchen refacing in two to four days. They’ll bring all the necessary tools, kits, and expertise to ensure a quality finish at the end. If you choose to DIY, then plan around a week at minimum to complete the work. You’ll also need to budget in buying your own refacing or refinishing kit and any other tools.
The risk of DIY, however, is that any mistakes often result in more costly repairs or having to replace materials. The work is a lot more involved as well, so a certain degree of skill is needed. Keep in mind that either way, refacing and refinishing are both much more cost-effective than replacing. DIYing may save a little bit extra, but a professional will guarantee quality, timeliness, and peace of mind.

